Happy Hippy Hobo Bag
Alright. Now this bag took a while to make because I made it in stages.
Click on the photos to enlarge them please.
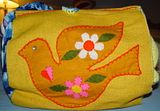
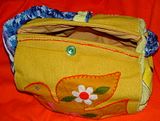
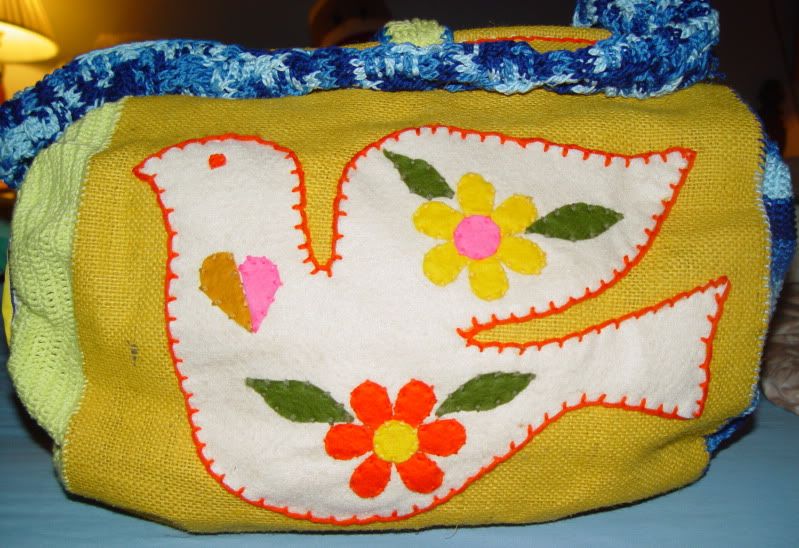
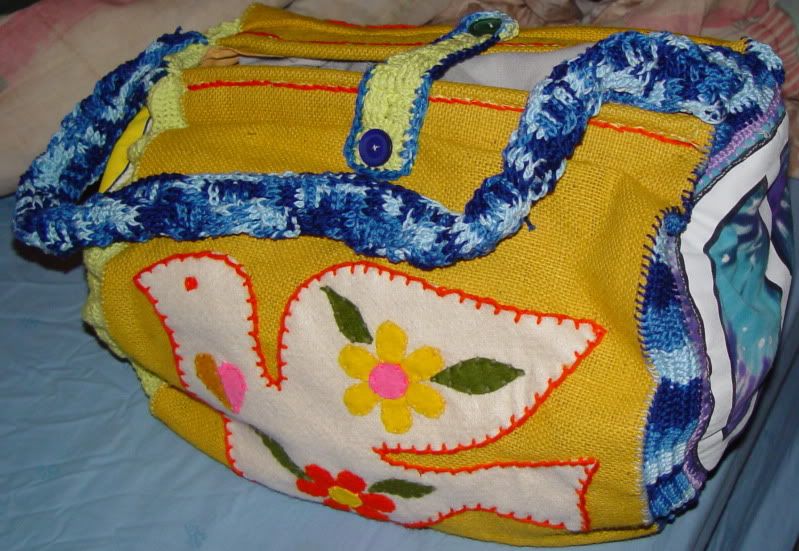
Here's one side.
These two sides are made from a great 70's tote kit that I found on e-bay a while back. It was supposed to be a square shaped tote. But I took the yellow burlap fabric and attached it's sides to two round t-shirt centers which I'll show you next.
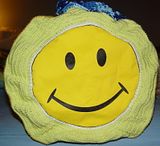
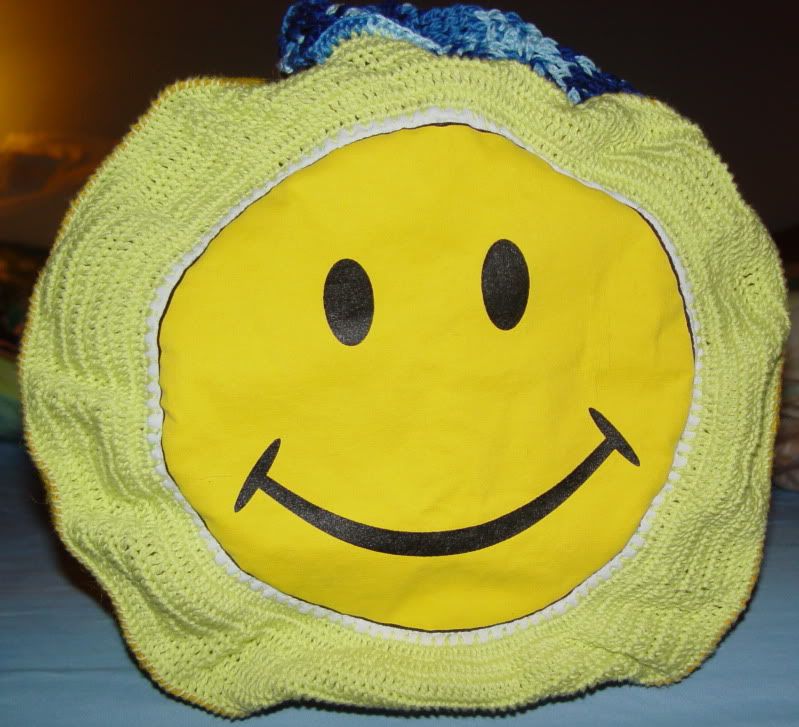
This end is made from a smiley t-shirt I found at Goodwill. I don't remember what the shirt said, (if anything), but it was too cute to pass up so I got it even though the shirt was never gonna fit me.

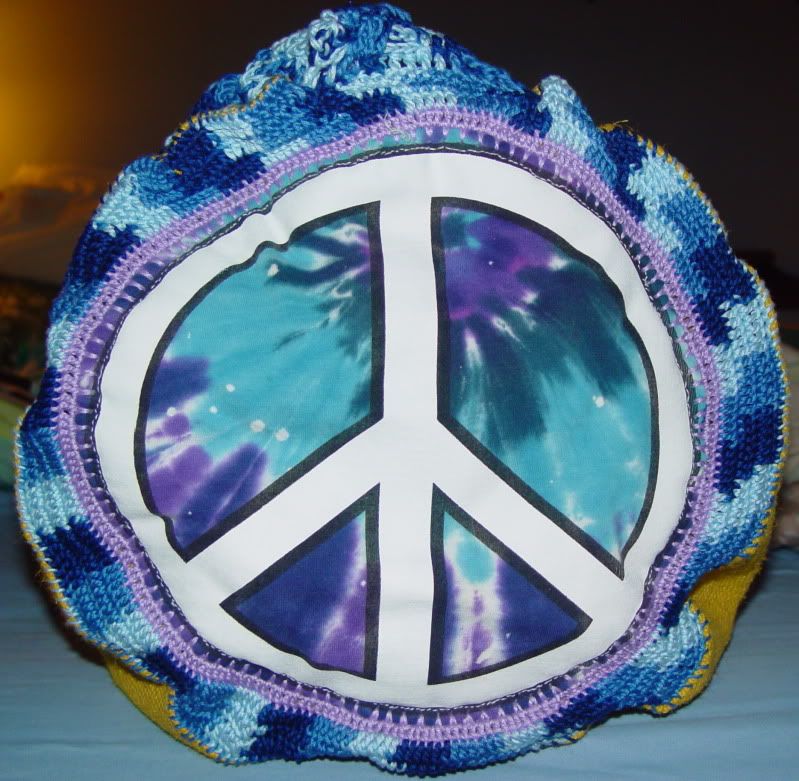
This is the other end of the tote. It's made from a Joe's Crab Shack t-shirt also found at goodwill. I'm sure you've seen them before. They are really cute but who wants a shirt that says "Peace, love, crabs" on it? Well, The huge peace sign and the tie-dye fabric is awesome for recycling.
What I did to make the ends is cut off the round smiley and the peace sign from the shirts, (leaving about an inch of extra fabric to work with). Then, you fold over that extra bit of fabric as you crochet around the whole circle so that all the rough ends are no longer exposed. It's not too hard to poke the crochet hook through the cotton t-shirt fabric. If I ever had a problem, I have a leather punch awl that will ream a hole right through but I didn't have to use it much.
Then you just continue to go around the circle shirt logos until you feel you've made them big enough to cover the entire circumference of the front and back of the tote fabric, (remember the yellow burlap I used here?)

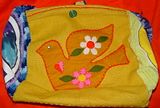
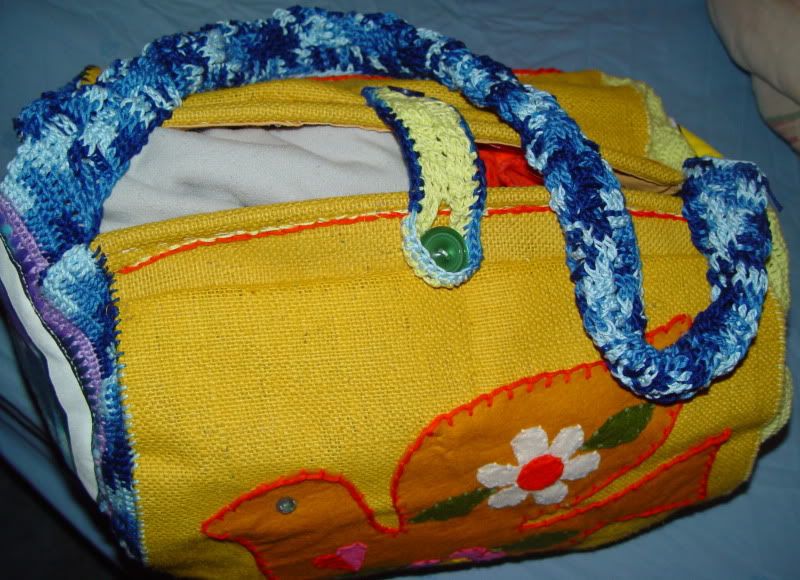
Can you see where I attached the circle smiley to the yellow burlap in this photo?
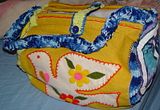
You can also see the strap I crocheted for the bag. It's long so the bag can be slung cross-bodied to lug lots of things inside the bag. I also crocheted al latch with a slot and sewed a button on the other side to close the bag.
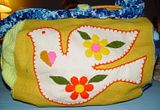
Here's the other side where the peace sign attaches to the yellow burlap.
I had to use a really sharp heavy needle to attach these round sides to the yellow burlap.
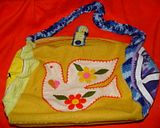
For the purpose of photographing this I stuffed the bag with two blankets to puff it out so you could see everything.
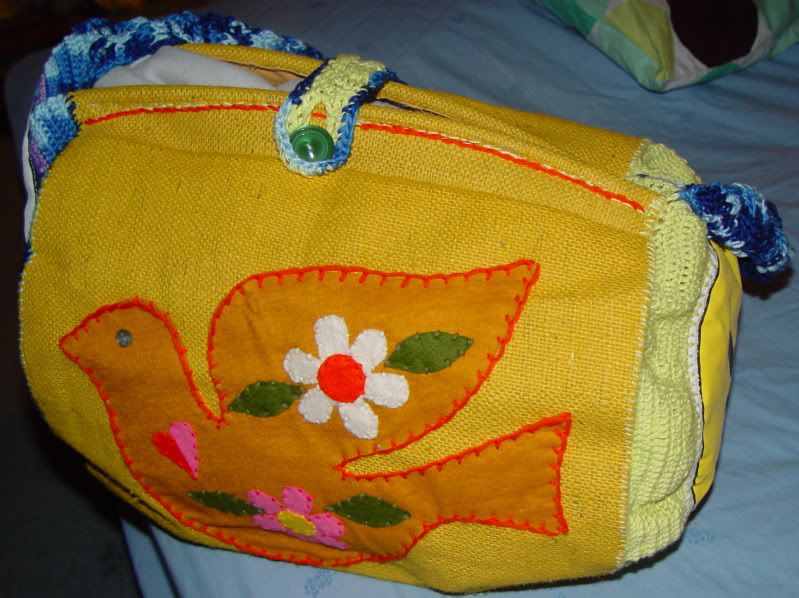
These next two shots show the strap again, the bag stuffed and then empty, and the latch thingy.

The next two shots I smushed the bag flat after removing the inside blankets. You get the idea of how the sides attach to the front yellow panel in these photos.
OMG! Finally one more photo!
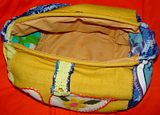
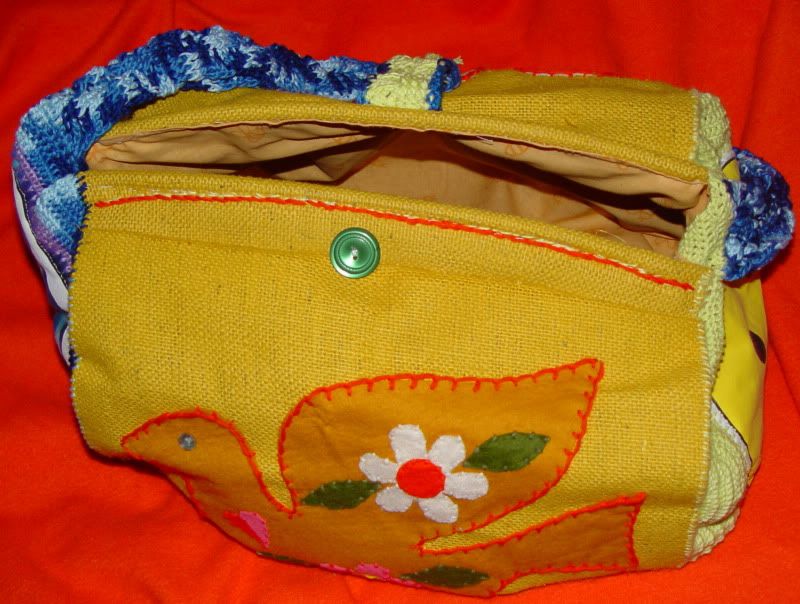
This shows the lining on the inside. I used Winnie the pooh fabric that is a mustard yellow with just some bees flying around.
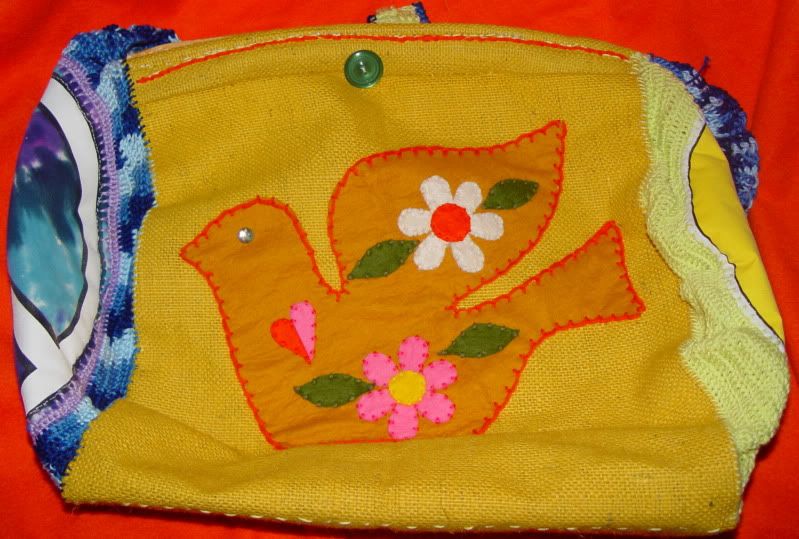
I haven't even explained how I decorated the sides with the doves and flowers!
The original tote kit had one felt dove and some flower petals and leaves. So I just made lots more to do the other side too. (I made a cardboard template of the dove because it's so beautiful so I can reuse that for anything!)
Instead of just gluing the felt on, (which the kit planned for only the glue had long-since dried up in the tube anyway), I chose appropriate yarn colors to do whip-stitch needlework around each felt piece. It took a lot of time but I enjoyed it anyway.
Then, after all the outside design was done, I lined the insides. The t-shirt sides also have an extra padding and lining back. I wanted to make sure they were good and sturdy.
This would make a great craft tote for a big yarn project in which you needed to carry around lots of yarn and supplies.
Click on the photos to enlarge them please.

Here's one side.
These two sides are made from a great 70's tote kit that I found on e-bay a while back. It was supposed to be a square shaped tote. But I took the yellow burlap fabric and attached it's sides to two round t-shirt centers which I'll show you next.
This end is made from a smiley t-shirt I found at Goodwill. I don't remember what the shirt said, (if anything), but it was too cute to pass up so I got it even though the shirt was never gonna fit me.
This is the other end of the tote. It's made from a Joe's Crab Shack t-shirt also found at goodwill. I'm sure you've seen them before. They are really cute but who wants a shirt that says "Peace, love, crabs" on it? Well, The huge peace sign and the tie-dye fabric is awesome for recycling.
What I did to make the ends is cut off the round smiley and the peace sign from the shirts, (leaving about an inch of extra fabric to work with). Then, you fold over that extra bit of fabric as you crochet around the whole circle so that all the rough ends are no longer exposed. It's not too hard to poke the crochet hook through the cotton t-shirt fabric. If I ever had a problem, I have a leather punch awl that will ream a hole right through but I didn't have to use it much.
Then you just continue to go around the circle shirt logos until you feel you've made them big enough to cover the entire circumference of the front and back of the tote fabric, (remember the yellow burlap I used here?)
Can you see where I attached the circle smiley to the yellow burlap in this photo?
You can also see the strap I crocheted for the bag. It's long so the bag can be slung cross-bodied to lug lots of things inside the bag. I also crocheted al latch with a slot and sewed a button on the other side to close the bag.
Here's the other side where the peace sign attaches to the yellow burlap.
I had to use a really sharp heavy needle to attach these round sides to the yellow burlap.
For the purpose of photographing this I stuffed the bag with two blankets to puff it out so you could see everything.
These next two shots show the strap again, the bag stuffed and then empty, and the latch thingy.
The next two shots I smushed the bag flat after removing the inside blankets. You get the idea of how the sides attach to the front yellow panel in these photos.

OMG! Finally one more photo!
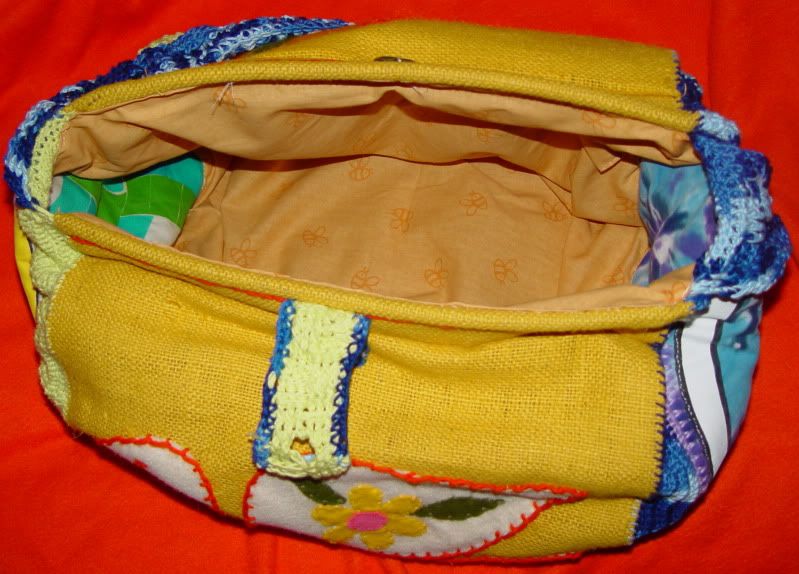
This shows the lining on the inside. I used Winnie the pooh fabric that is a mustard yellow with just some bees flying around.
I haven't even explained how I decorated the sides with the doves and flowers!
The original tote kit had one felt dove and some flower petals and leaves. So I just made lots more to do the other side too. (I made a cardboard template of the dove because it's so beautiful so I can reuse that for anything!)
Instead of just gluing the felt on, (which the kit planned for only the glue had long-since dried up in the tube anyway), I chose appropriate yarn colors to do whip-stitch needlework around each felt piece. It took a lot of time but I enjoyed it anyway.
Then, after all the outside design was done, I lined the insides. The t-shirt sides also have an extra padding and lining back. I wanted to make sure they were good and sturdy.
This would make a great craft tote for a big yarn project in which you needed to carry around lots of yarn and supplies.
posted by Becky at
12:15 PM
![]()
 I Get By With A Little Help From My Friends
 If you know of any more Harry Potter related craft patterns or projects, please let me know and I will add them to the list!


0 Comments:
Post a Comment
<< Home